
.svg)
How to start using Lumio L2: a tutorial


Congratulations on being chosen as a beta tester for Lumio on Optimism, a production-grade sandbox - a fully functional rollup that exists in two “flavors” - EVM and MoveVM. In this tutorial, we’ll explain how to start using Lumio on EVM and MoveVM.
Lumio in action
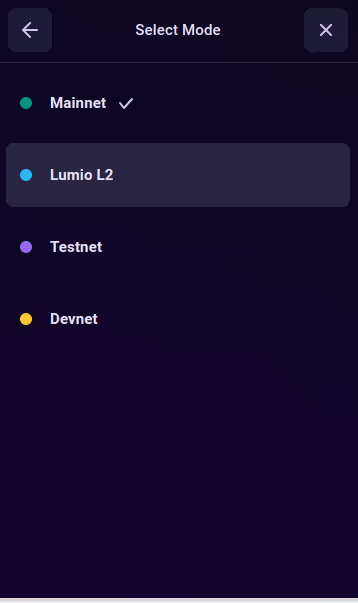
Once you’ve been whitelisted to test Lumio on Optimism (testnet), make sure to switch the network in Pontem Wallet from Mainnet to Lumio L2.

Lumio Testnet (Move VM)
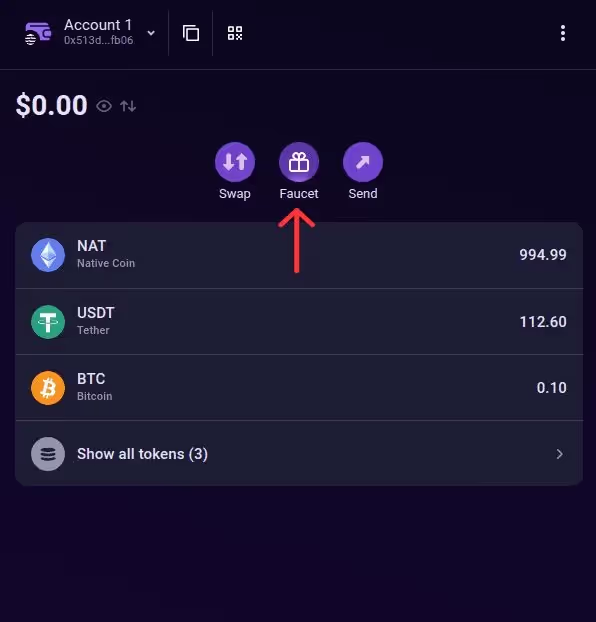
Once you’ve switched the network in Pontem Wallet from Mainnet to Lumio L2, you need to get gas coins from the faucet. Both parts of Lumio (Move VM and EVM) is a rollup that settles on Ethereum, and its gas coin is ETH. Here is the slightly confusing part, however: in the present version of Lumio, ETH is called NAT.
Believe us, there were technical reasons for doing this at this early stage, and the ticker will be eventually switched to ETH. For now, simply accept that NAT Is ETH - but also note that this ETH doesn’t have any real-world value, because Lumio is in testnet. Click on Faucet.
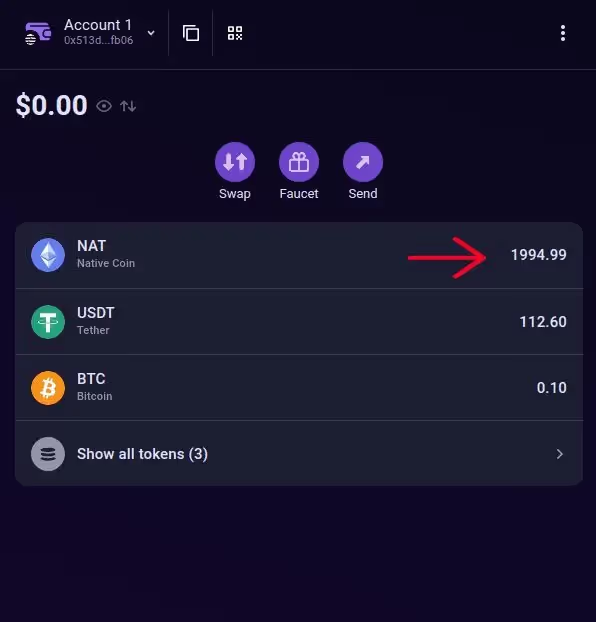
If the address is indeed on the whitelist, you should see the NAT balance increase by 1,000. Otherwise you’ll get an error.
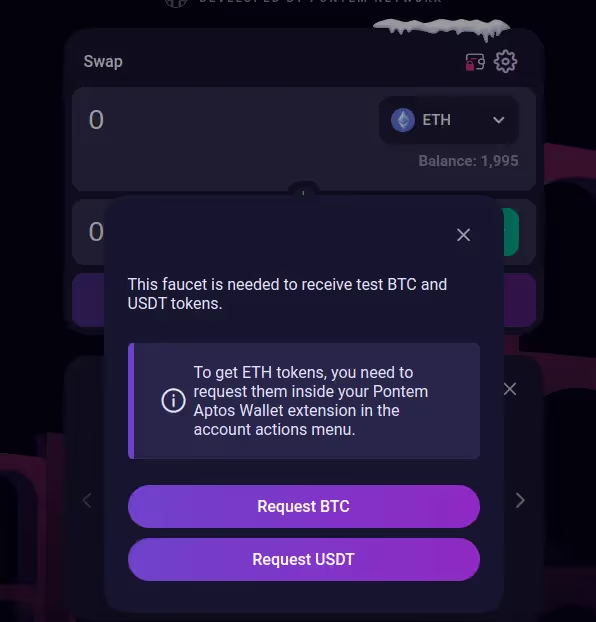
After that, get some testnet USDT or BTC on Liquidswap. Liquidswap is the first Aptos DEX to support Lumio - on testnet for now, of course. Head over to https://lumio.liquidswap.com/#/ and connect with the same whitelisted Pontem Wallet address. Once connected, you should see a blue Faucet button in the top right.
The faucet distributes testnet USDT and BTC on xLumio. You can request both to get 100 USDT and 0.1 BTC at a time. Obviously, these tokens don’t have any real market value.
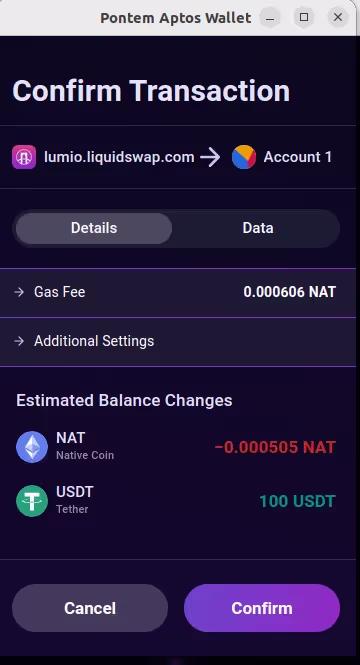

Now you are ready to use Liquidswap on Lumio! You’ll see that the prices have nothing to do with real-world prices, since it’s all on testnet.
As for the rest, swaps work exactly the same as on Liquidswap on Aptos.

You can also add liquidity to a pool - for example, BTC-ETH. Once again, you’ll see that the dollar values are all over the place. Not to worry: it’s always like this on testnet.

Once done, check that LP tokens have appeared in the wallet. You will earn liquidity provider fees, though it won’t be in real money!
What to do if you connected to Liquidswap with the wrong account?
If you accidentally connected to Liquidswap on Lumio with the wrong Aptos address, you won’t be able to use the Liquidswap faucet as you don’t have the necessary NAT (that is, ETH) to pay for gas. To switch accounts:
- In the wrong account (the one you’ve connected with), click on the three dots in the top right -> Connected sites
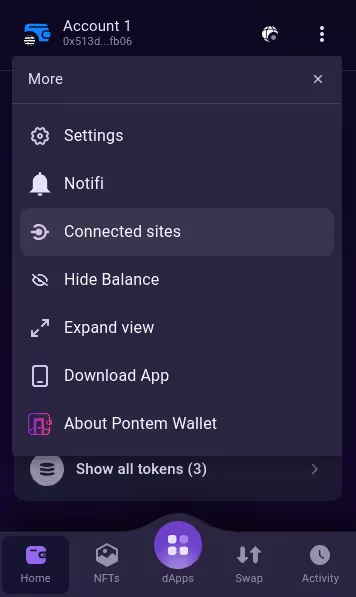
- Delete the connection to lumio.liquidswap.com
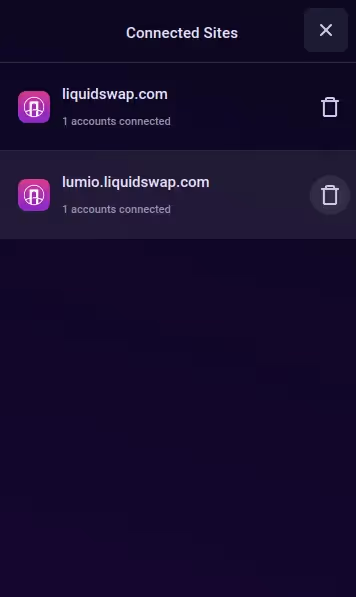
- Switch to the correct account
- Refresh the Lumio Liquidswap page -> Connect wallet
- Select the correct wallet and account and connect
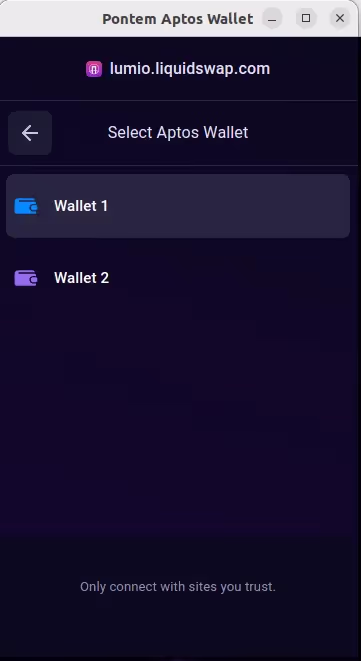
Now you should be connected with the correct account and see your NAT (ETH) balance. Congrats, you did it!
Lumio Testnet (EVM)
Important: you need to have an EVM address whitelisted to test Lumio on EVM. It can be your regular MetaMask address, too, but it needs to be imported into Pontem Wallet. We are putting in place a system for whitelisting EVM addresses; for now, if you are already whitelisted on Aptos, you can contact the team and submit your Ethereum address.
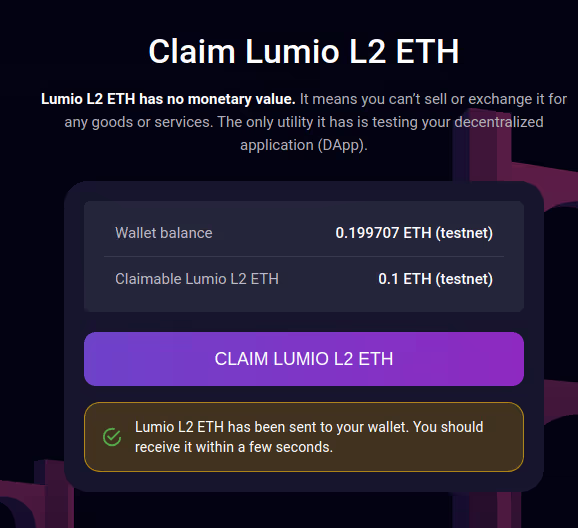
- Claim testnet ETH. For whitelisted EVM addresses, there is a faucet that distributes testnet ETH on Lumio testnet. Note that Pontem Wallet needs to be in the Lumio L2 network mode and with the whitelilsted Ethereum wallet account active.
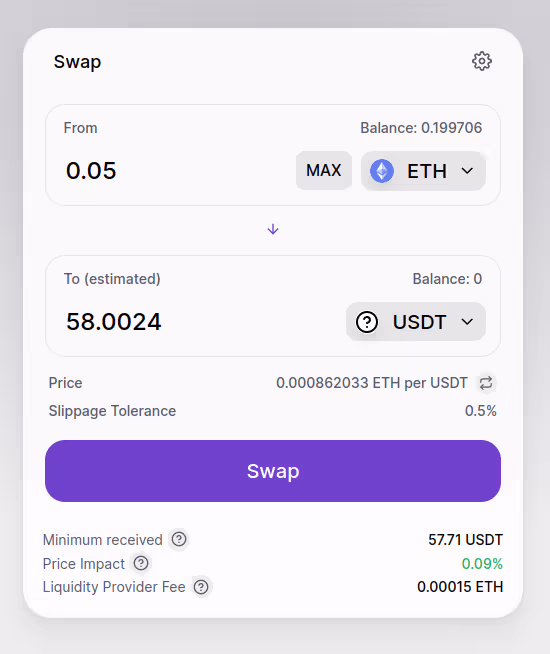
- Use NarSwap. NarSwap DEX is the first use case for Lumio testnet on EVM, currently supporting testnet ETH, USDT, and USDC. You can try swapping or adding liquidity to pools.
- Explore. Use the Explorer to view your transactions on Lumio on Optimism testnet for EVM.
Follow Lumio on X.
Follow Lumio on Substack.
Learn more about Lumio at lumio.io.


